Review - Sun Catcher Solar Filter
Posted: 13 September 2021

Sun Catcher Solar Filter
Explore Scientific
$25
Recently, when I prepared to take some images of the Sun I discovered that the Thousand Oaks Optical
solar filter
 (for my ETX-90 telescope) that I had used with my older Tamron 150-600mm telephoto lens would not fit the newer model lens I traded up to a few months ago. So I needed a new solar filter for the telephoto lens. The telephoto lens hood has an outside diameter of 125mm. The lens without the hood has an O.D. of 107mm.
I contacted Explore Scientific about their solar filters designed for telescopes and was told that the Sun Catcher Solar Filter for 127mm would be the best size to use with my telephoto lens. Other sizes are available ranging from $15 to $35.
Explore Scientific notes the following:
ISO 12312–2 Rated; 100% Safe for Eclipse Viewing.
Lightweight and generally does not require rebalancing tube assembly.
Stronger than any other solar filter film on the market. It is highly tear and puncture-resistant.
Consistent yellow-orange solar image.
Even density with any aperture that keeps a flat surface as compared to other thin-film filters that have wrinkles and creases.
Thousand Oaks Optical Guarantees Solarlite Filter Material for 15 years.
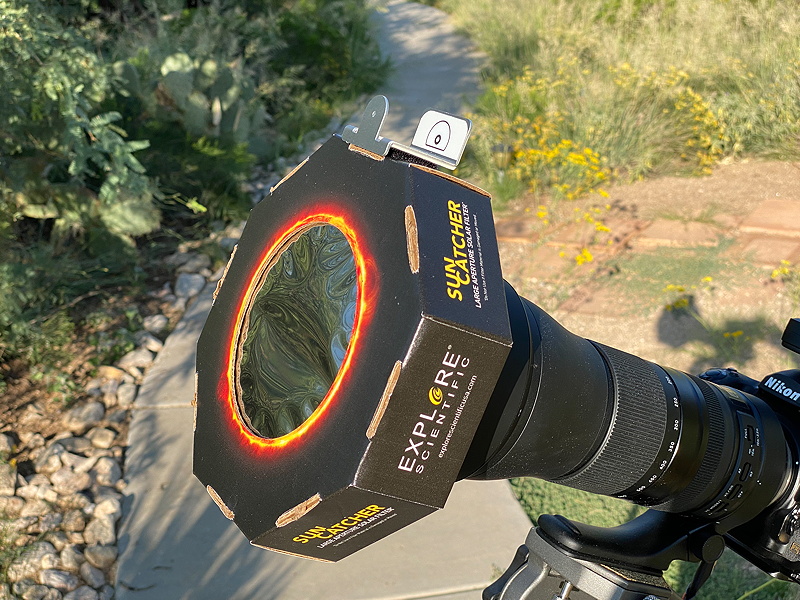
The solar filter is mounted in a sturdy cardboard housing. It comes with instructions, four double-sided strip tapes, and four large foam spacers. The spacers are used to allow the filter to fit a range of aperture sizes up to 195mm.

The Sun side of the filter (silver) is seen in the photo at the top of this page. This is what the filter looks like on the inside of the housing.

I first tested the filter by looking at the Sun with my eye. I checked for any holes or distortions. None were seen. I then proceeded with preparing the filter for use with my camera lens.
Using the supplied "cut out diagram" you cut the foam spacers to the proper length for your telescope or camera lens. Explore Scientific recommended cutting them in tiny amounts until you achieve a secure fit that will keep the filter attached to your lens (or lens hood or telescope). The double-sided strip tapes are then used to mount the cut-down spacers to the inside of the filter housing. Be certain to brush off any foam debris. After cutting down two of the foam spacers I checked the filter housing fit on my telephoto lens hood. I trimmed off a little more foam from one of the spacers. I then mounted a trimmed spacer using the tape and re-checked the fit with the other spacer on the opposite side (with the tape inplace but still covered). No additional trimming was needed. I then repeated this process with the other two spacers.


Photographing the Sun
Once the clouds cleared, I did some imaging of the Sun using my Nikon D850 DSLR and Tamron 150-600mm telephoto lens.

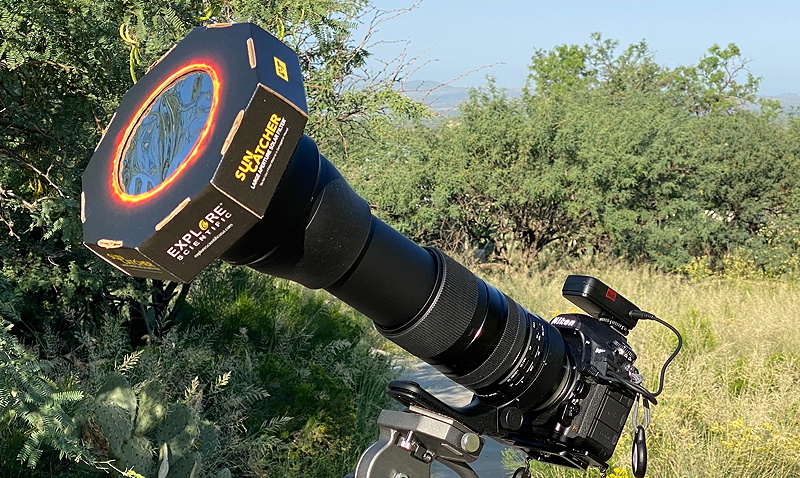
I added a Kendrick Sun Finder to the filter to aid in centering the Sun.
This is a f/6.3, 1/1600sec, ISO 800, FL 600mm, photo of the Sun (full-frame).

This is a cropped version of the same photo, rotated to have North at the top. It shows the small sunspots AR2868 and AR2869 at the lower right of the Sun's disk. Some faculae is also visible in the image, especially near the solar limb.

Summary
I was very pleased with the image quality of the Explore Scientific Sun Catcher Solar Filter. Although I did not use it for visual use, as the photographic quality is so good, I expect that the visual quality will also be good.
Both glass and thin-film filters can be damaged due to carelessness or accidents, making them unsafe to use. So protecting the filter when not in-use is important. I will be storing the filter in the small box it came in when not using the filter. And, as with any solar filter, always check the condition of the filter before using it.
A Sun Catcher Solar Filter can be used with almost any telescope or camera lens that meets the size requirements of one of the filter models. For solar eclipse imaging, I will be using my 150-600mm telephoto lens (as I did for the Great American Total Solar Eclipse in 2017), so the 127mm meets my needs perfectly. I look forward to imaging the Sun more as it gets active in the coming years (and hopefully, months).
Comments are welcome using Email. If you are on Twitter you can use the button below to tweet this review to your followers. Thanks.
Cassiopeia Observatory Home Page
Copyright ©2021 Michael L. Weasner / mweasner@me.com
URL = http://www.weasner.com/co/Reviews/2021/ES_Solar_Filter/index.html