LX200-ACF Counterweight,
Sun Observing
Posted: 20 August 2011
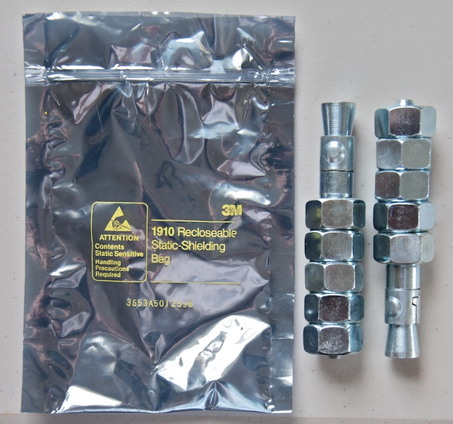
On Saturday, 20 August, per a suggestion on the LX200GPS Yahoo Group (thanks Randy), I replaced the internal batteries in the 8" LX200-ACF left fork arm with two 5/8" x 4-1/2" bolts (actually "concrete anchor studs") and some nuts. Since the telescope is powered by an AC adapter, I had been using 4 C batteries to act as a counterweight (another idea from a long-ago posting on the Group). But I always wanted a different solution as I worried about battery leakage. I opened the observatory at 0650 MST, 71°F, under mostly clear skies (for a change). Here are the two bolts with a full complement of nuts, along with an anti-static bag which will be used to protect from any stray voltage:
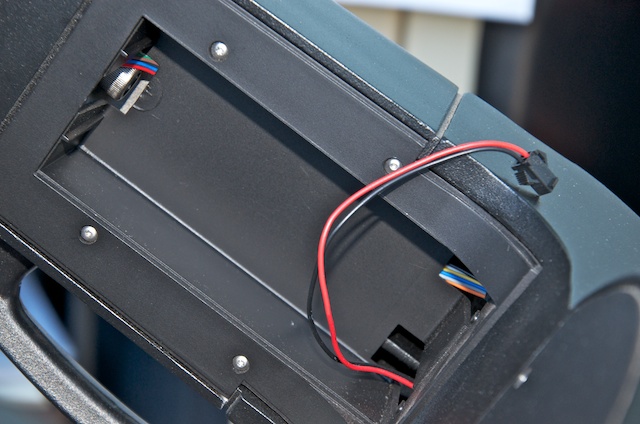
I removed the battery holder from the east fork arm; here is the empty battery compartment:
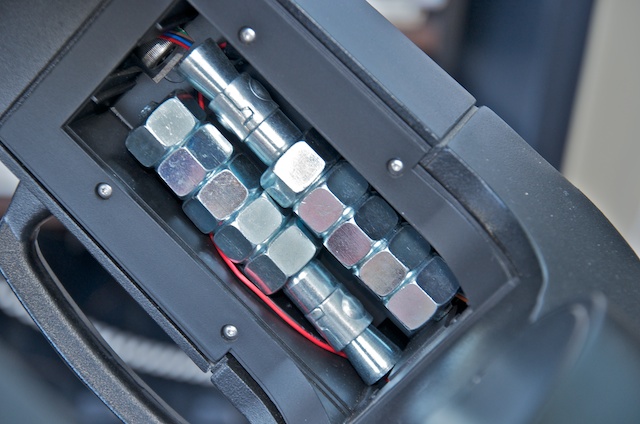
I placed the bolts in the battery compartment and then did test balancing, adding nuts as required to achieve a good balance in Right Ascension for my wedge mounted telescope. I ended up using all 10 nuts (5 on each bolt):
Once I had a good balance, which required all the nuts that would fit, I placed the bolts inside the bag and added some strips of foam insulation for protection and to get a snug fit inside the battery compartment. I then re-inserted the counterweight into the battery compartment.
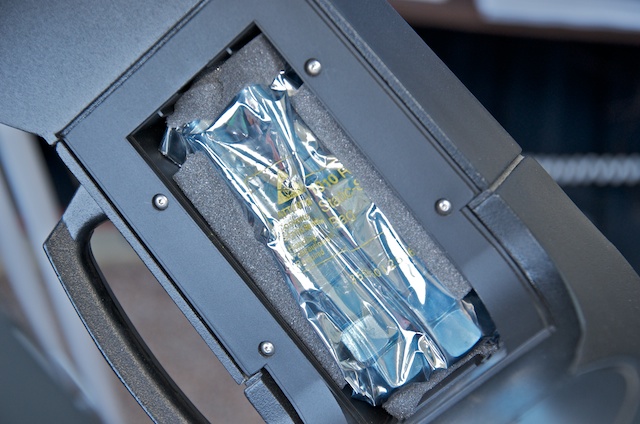
The fork arm with the battery compartment cover on:

The balance isn't perfect but I didn't have any other small items that would fit inside the compartment. However, the balance is MUCH better than it was with the 4 C-cell batteries. Total cost was $10.
After I completed the counterweight installation at 0800 MST, the sky was still mostly clear, with some high thin clouds in places. I decided to do some solar observing. I had moved the telescope fork arms during the counterweight installation so only had an approximate "Park" position when I powered on the LX200-ACF. I did a GOTO Sirius and after a short "spiral search", I got it centered and did an AutoStar SYNC to correct the alignment. I then attached the white light solar filter to the 8" aperture and mounted the PST piggyback on the 8". Four small but nice sunspots were visible in the 8" at 77X. In the PST at 32X, three small prominences were visible on the solar limb along with a lot of details on the solar disk. I used a black hood over my head to enhance viewing through the PST and to help see the iPhone screen during my iPhone imaging, which I did next.
I attempted iPhone imaging afocally with the PST with the iPhone attached using the Magnilux MX-1 iPhone Afocal Adapter. I used the Camera app as well as the free Canopy app. I tested with a 15mm eyepiece, with and without a Moon Filter on the eyepiece. I tried still and video recording. Still photos would overexpose, even with the filter. Video recordings with both apps were better exposed BUT the fine details were hidden due to the faint solar image with the filter, making the full disk images unusable. I repeated the tests with a 9.7mm eyepiece, with the same poor results. I will have to do more iPhone + PST experiments.
I then did some PST observing with the 9.7mm eyepiece (41X). Lots of nice features were visible.
Closed the observatory at 0900 MST, 90°F.
In other news, I have updated the Equipment page to show my Starbound Observing Chair and the observing table that I use when setting up for observing from the observatory patio. And two new URLs have been added to the Links page.
Go to the previous report.
Return to the Cassiopeia Observatory Welcome Page.